Building Les Pauls
with Freddy Gabrsek
Part 5
Click
on images to enlarge
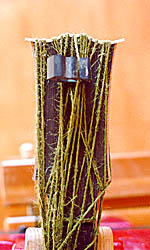
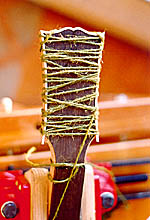
I like to use twine to hold binding tight while the glue dries.The rubber piece gets stuffed under the last loop of twine to keep the tension.
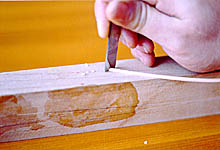
Mitering the binding with a well sharpened chisel.
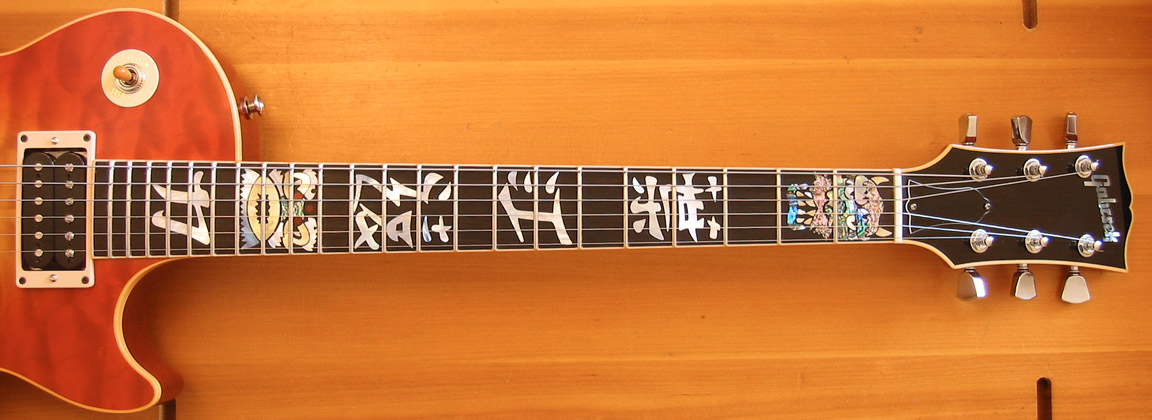
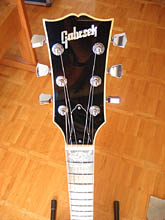
For this guitar, I'm using a single line of cream binding for the whole neck, peghead and the top of the body.
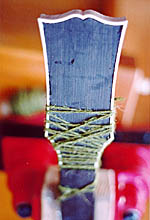
Twine is good.
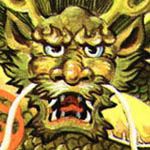
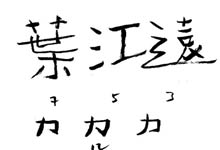
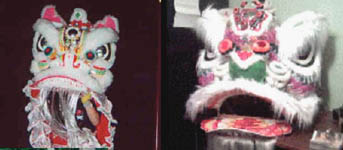
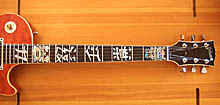
These are the jpegs that my client sent me as a basis of what he wanted for the fingerboard inlay.
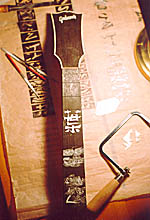
After the inlay designs are finalized on paper, I begin to cut the separate pieces out of various types of shell and other material. The dragon head will be done in abalone and the lion head in white and gold mother of pearl as well as the client's name written in Chinese characters in white M.O.P.
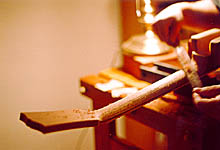
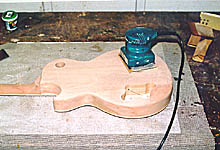
After the inlay, frets and binding are done it's time to shape the neck shaft. Here I'm using a "Microplane" to quickly hog off wood and rough in the shape.
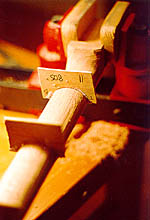
My client wanted me to duplicate the size and shape of a neck on a guitar that he owns, so I made some molds of that neck and here I'm using them as a guide to get as close as possible to that shape.
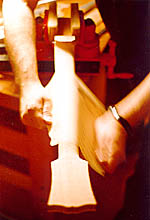
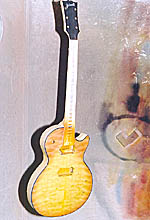
After careful shaping and measuring, the shaft is sanded to blend contours and to smooth out tooling facets.
Final prep before finishing.

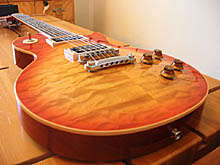
I shot yellow stain directly on to the bare top.
I also shot some red stain (heavily reduced with thinner) right on the bare top as a very gentle base for the cherry burst.
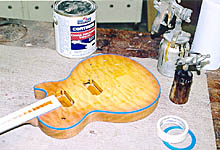
I prefer to mask the binding with fine line tape rather than scraping unwanted finish off. Now for some finish...toner colours for the burst and the neck and back.
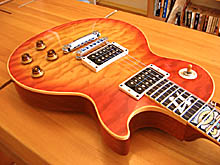
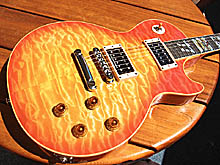
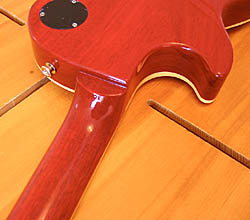
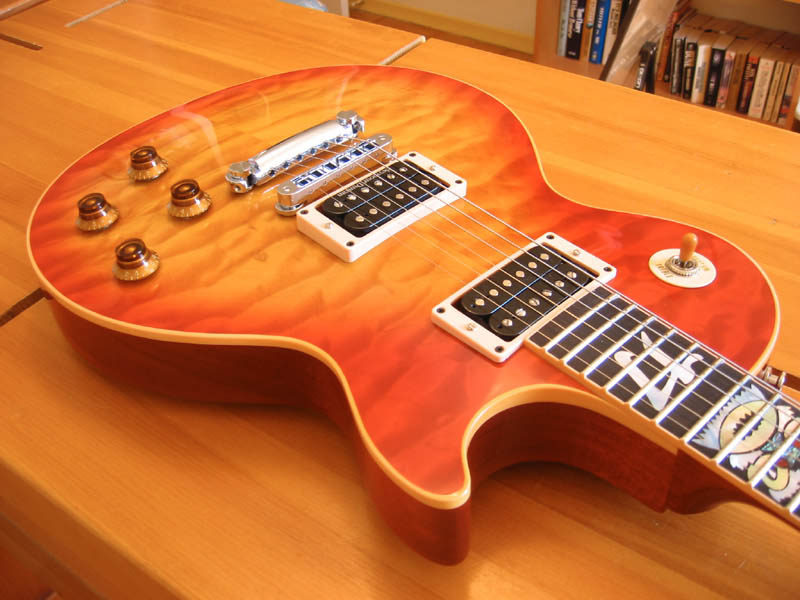
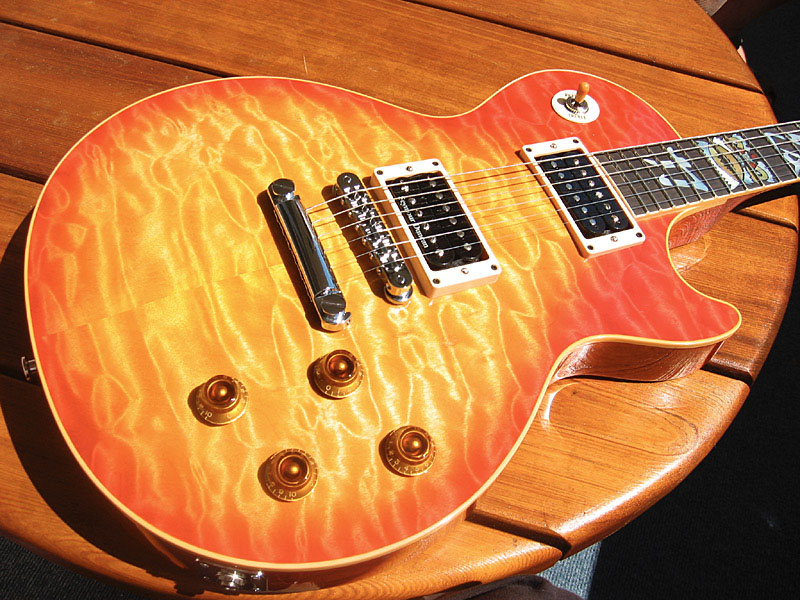
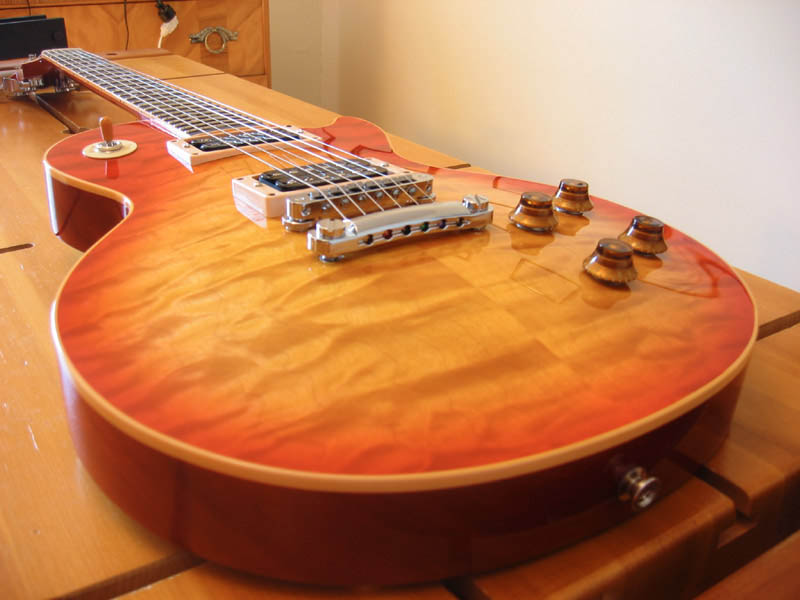
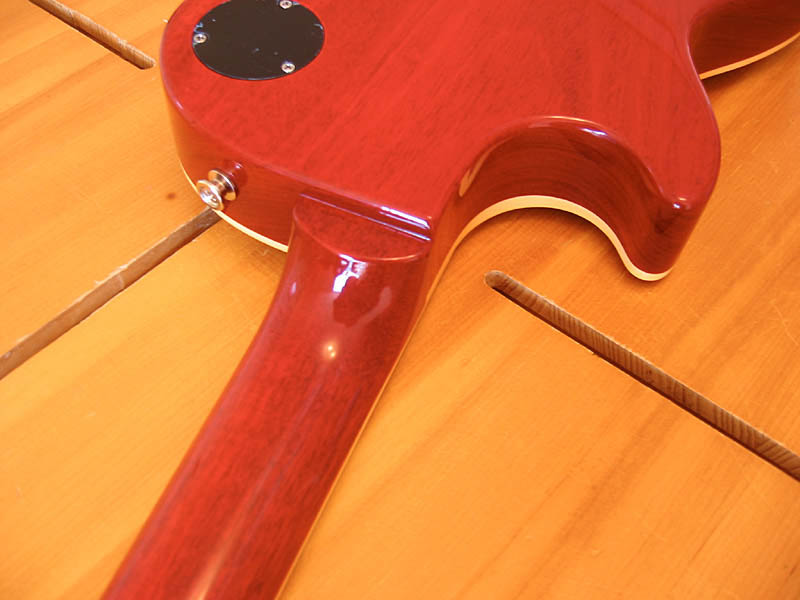
The finished guitar.... 8 lbs. 14 oz., Seymour Duncans, Tonepros bridge and tailpiece, Honduras mahogany body and neck with a quilted maple top, ebony peghead overlay, jumbo frets and a custom inlay on an ebony fingerboard.
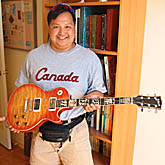
A happy customer.

Main Gallery